Bunny needle felt-along
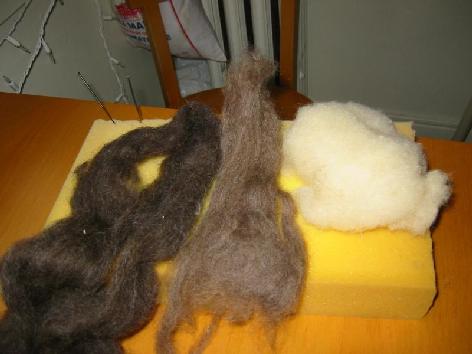
Supplies:
- felting needle (any size is fine, I
prefer 38 triangle myself)
- foam to felt on (I have heard some
people use a pillow, if you will, I suggest putting the pillow on top
of something hard so that if you felt in your lap you wouldn't poke
your leg)
- wool in bunny color (I use wool
batting for the inside because it is cheaper and roving for the
outside, fairy fleece works too; you can also do the inside out of
roving, use either natural (cheaper than colors!) or some color you
don't care about. Or you can just make it all out of bunny color)
I start by looking at all the images I
have of felted bunnies – maybe there is one that looks like I want
my creation to look like. Here is a link to the compilation
of bunny
images (these are all found in the internet, I save pics for
inspiration).
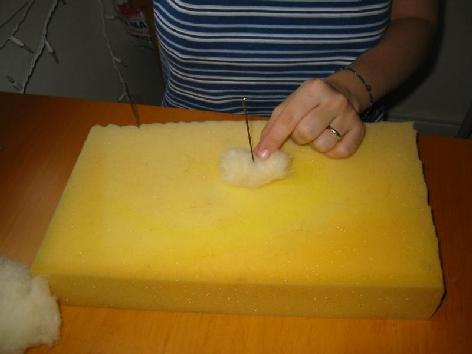
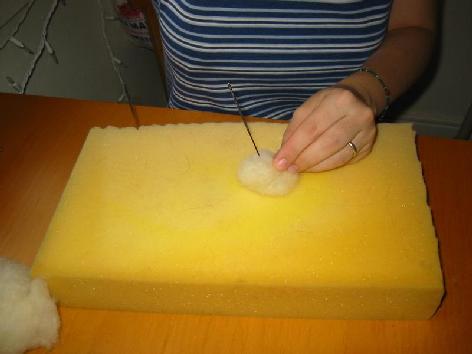
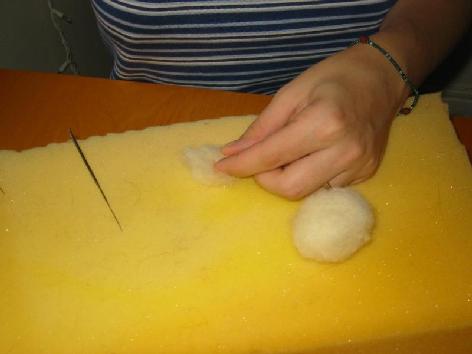
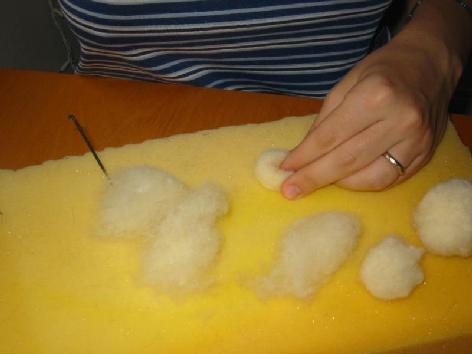
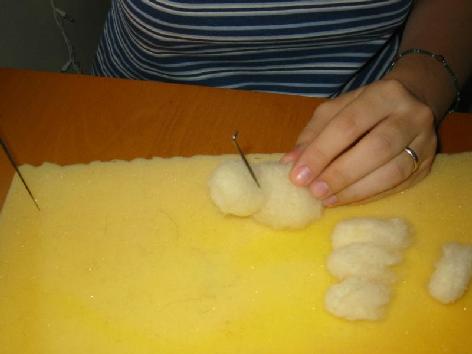
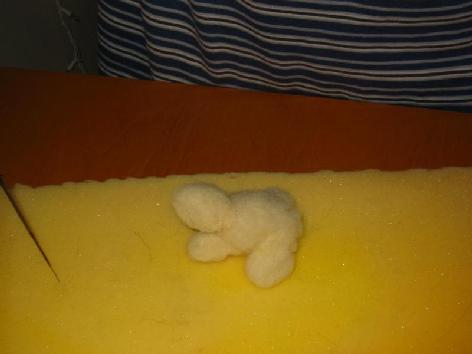
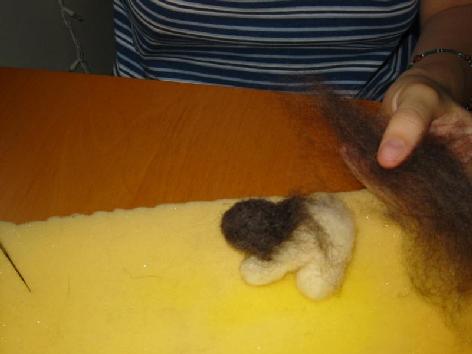
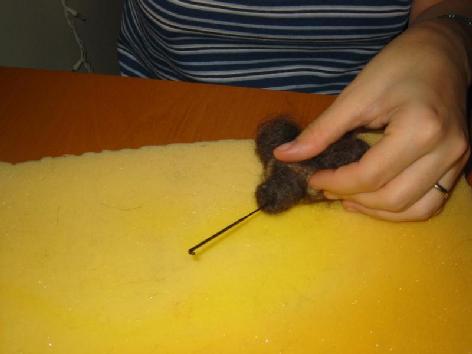
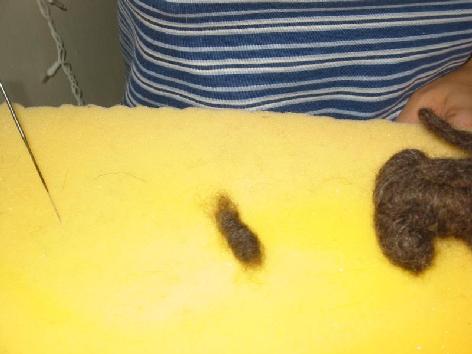
First take a piece of wool and roll it
into a roundish blob. It is up to you how big you want the bunny to
be, the first blob is going to be the body. When you think of size
remember that felt compacts a lot, your original blob will reduce in
size by at least a half, if you make a very firm bunny then even more
than a half.
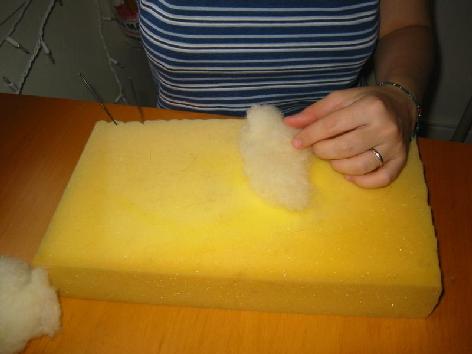
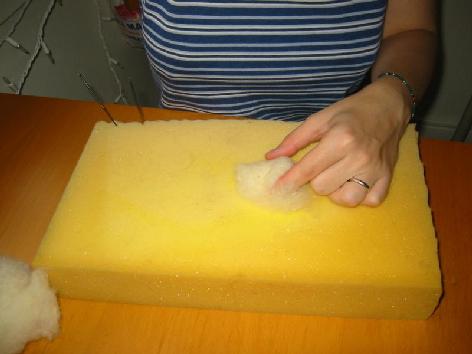
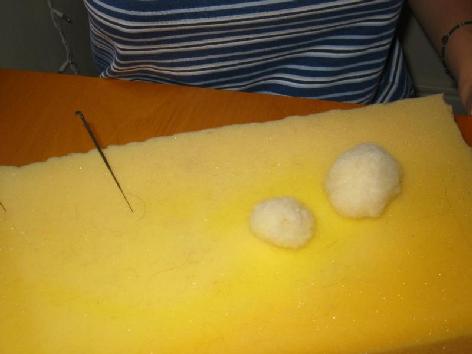
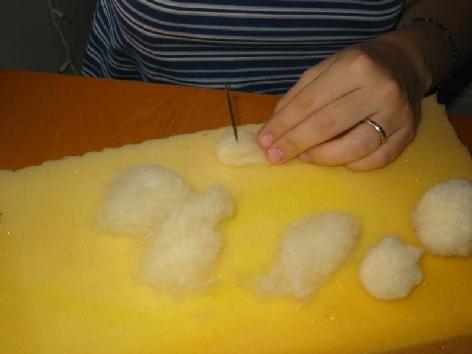
Felt the blob until it holds nicely
together and it looks like an oval rather than a blob.
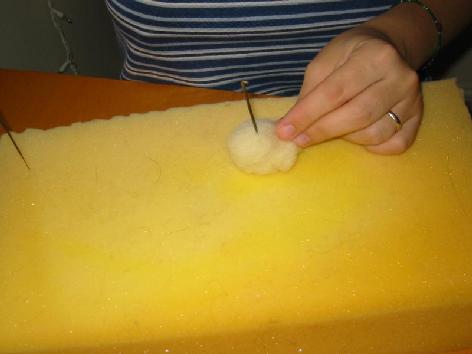
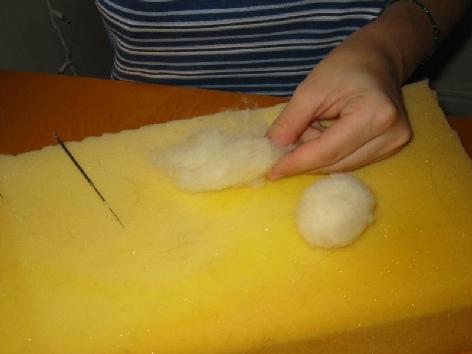
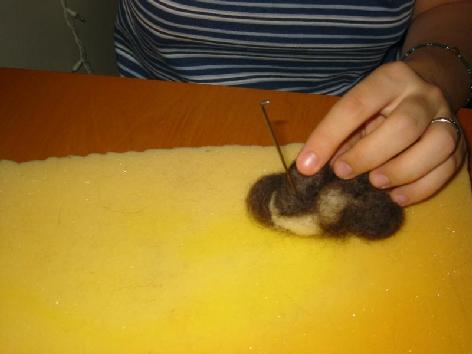
Now roll a smaller roundish blob for
the head. Felt it until the same firmness as the body.
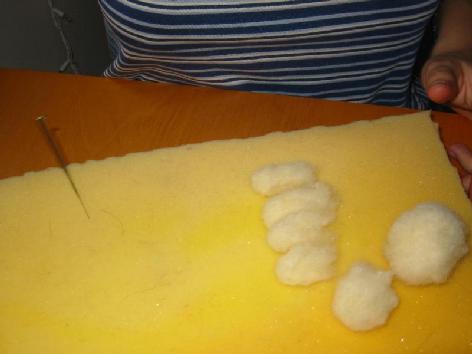
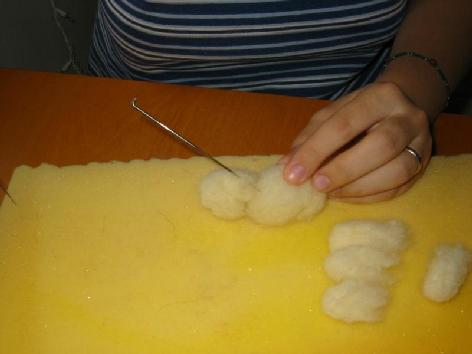
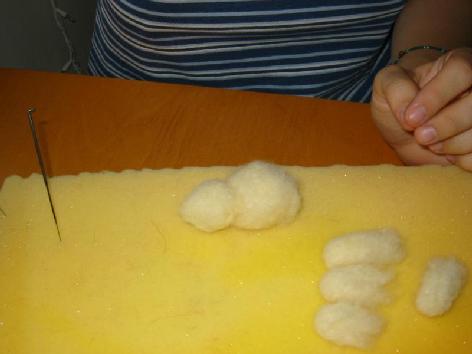
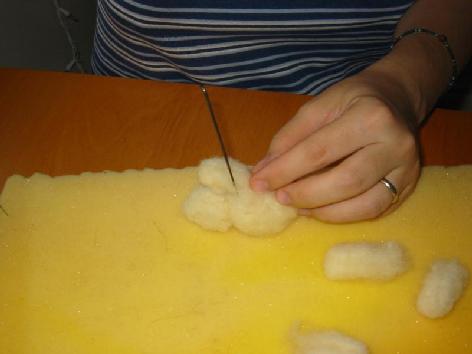
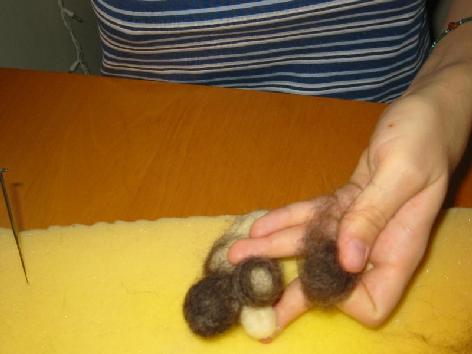
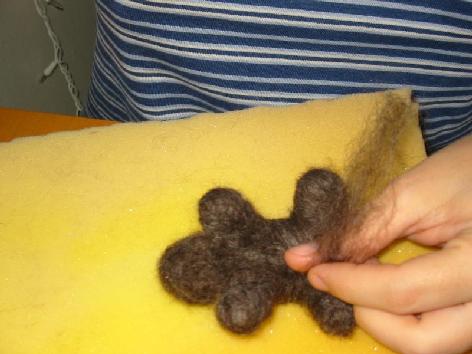
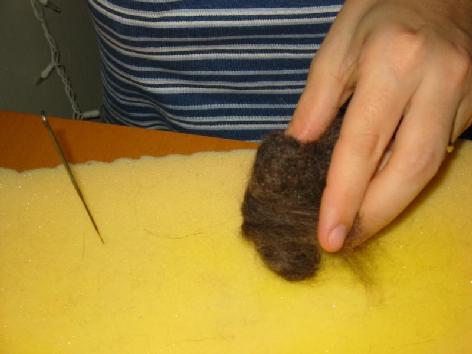
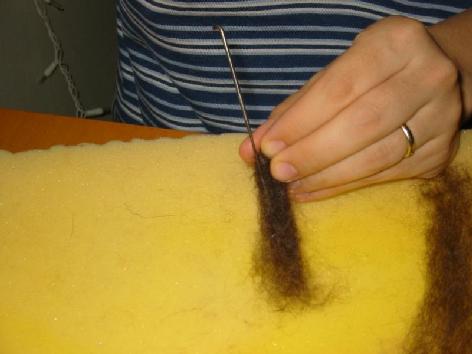
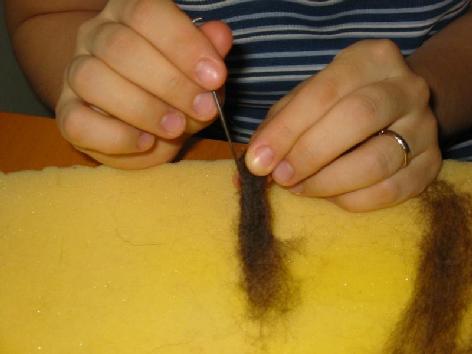
Tear pieces of fleece for the legs. It
is easier to have four leg sized pieces of fleece waiting. If you
make just one leg from start to finish then you won't remember how
much fleece you started with and the next leg might come out much
bigger. Ask me how I know ;)
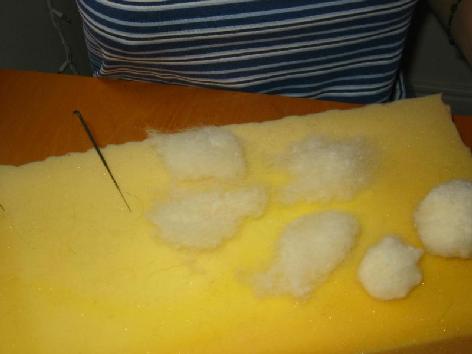
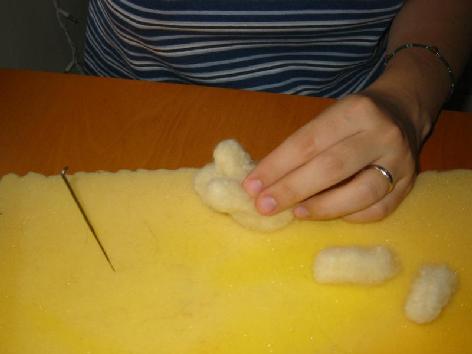
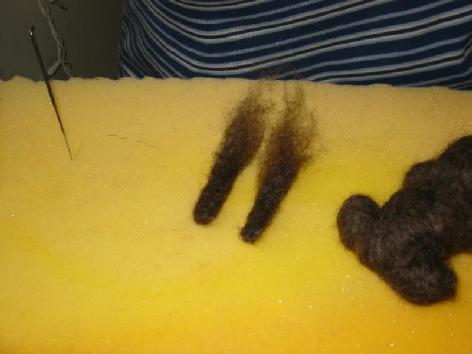
Roll leg pieces into little log shapes
with one end rounded. Leave the other end fuzzy, you will use it to
attach the leg to the bunny.
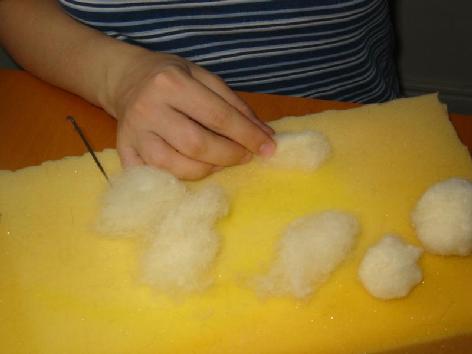
Repeat on the rest of the legs.
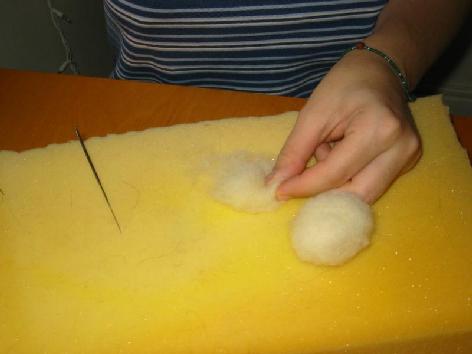
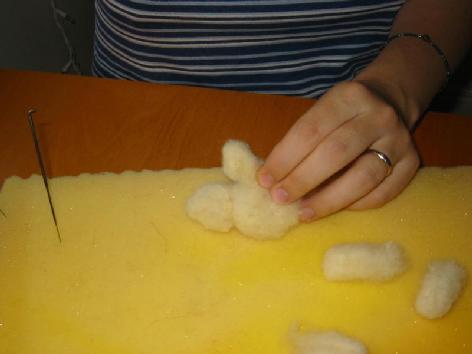
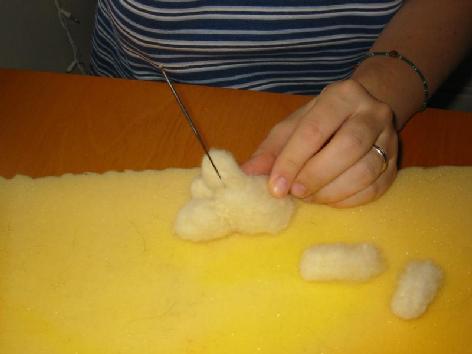
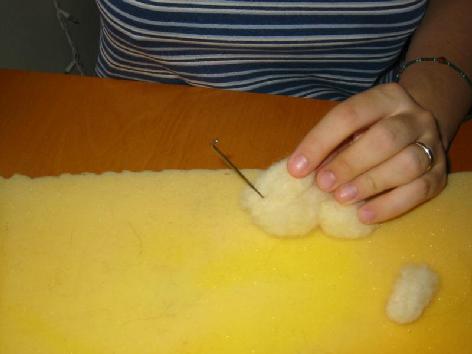
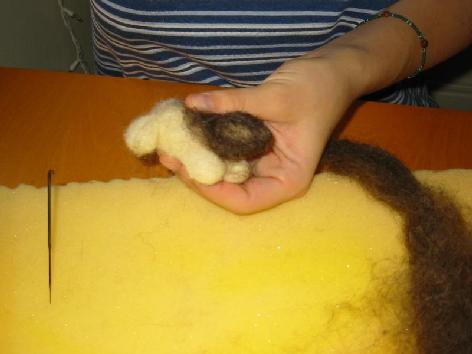
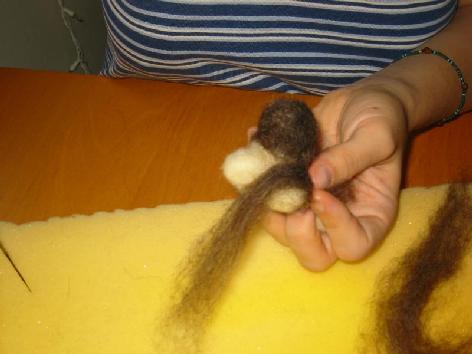
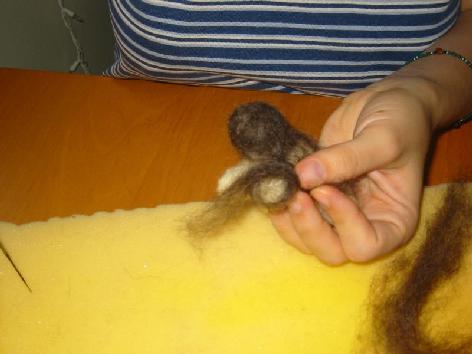
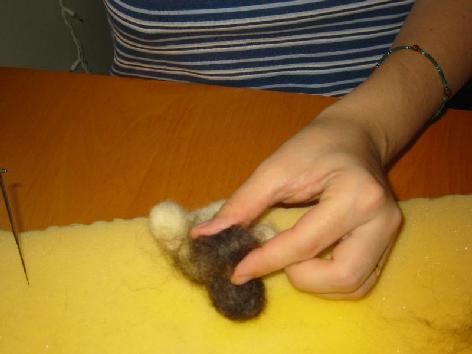
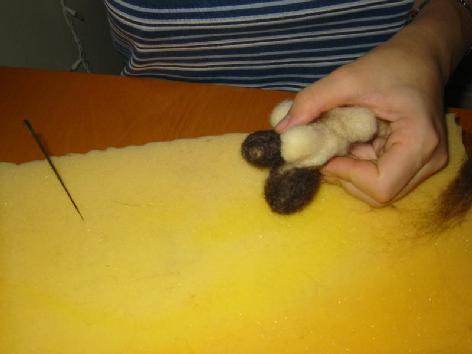
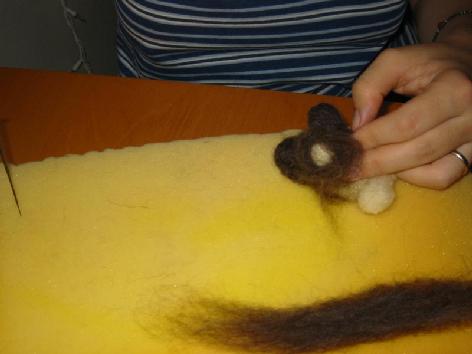
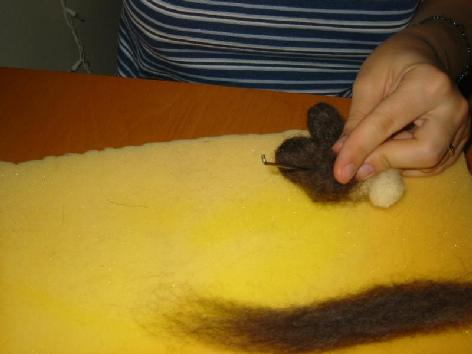
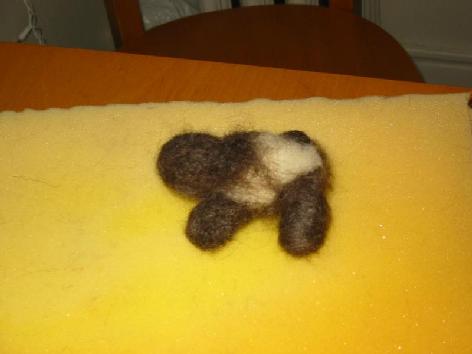
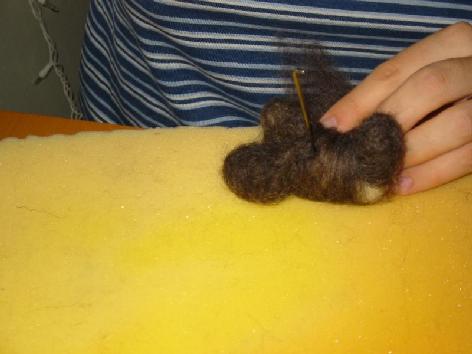
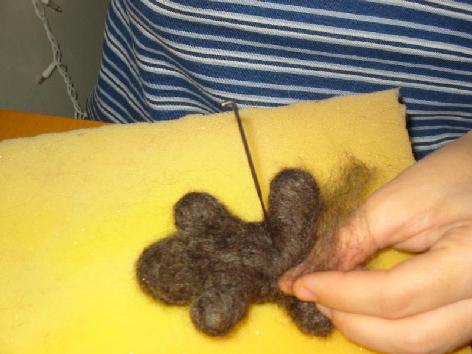
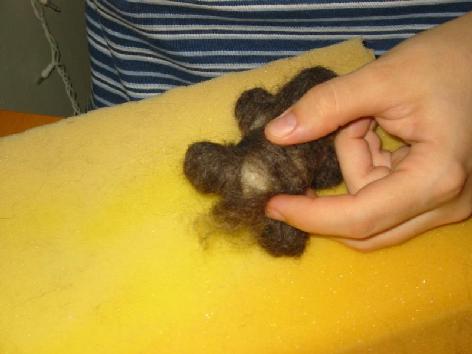
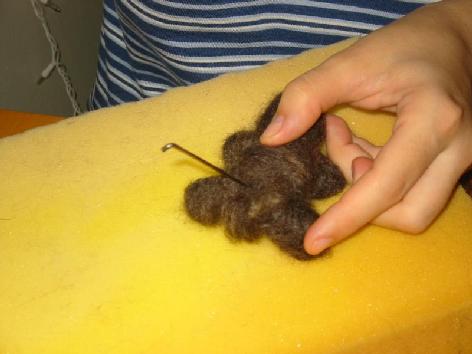
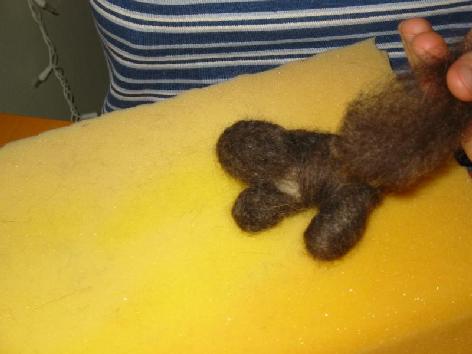
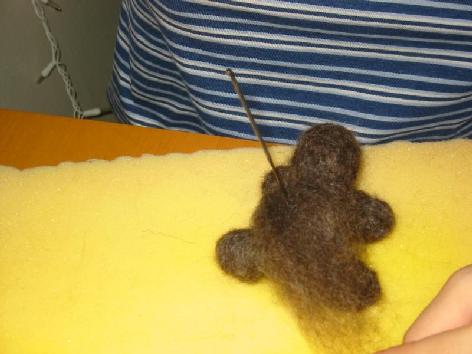
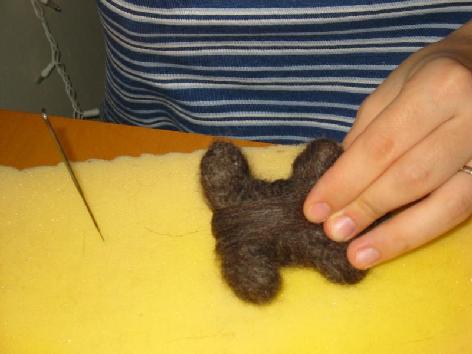
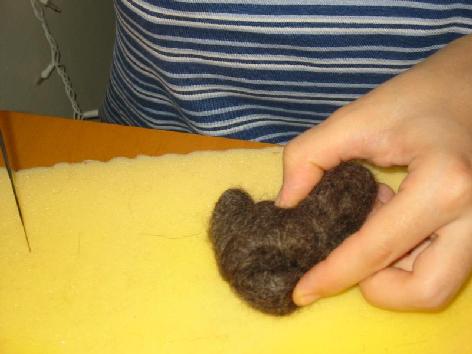
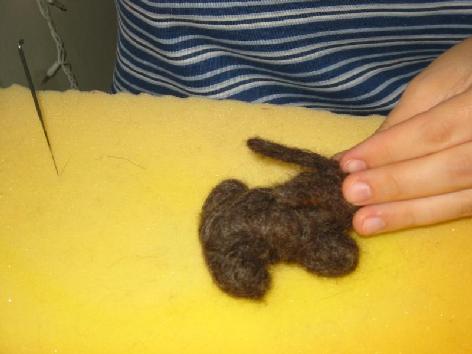
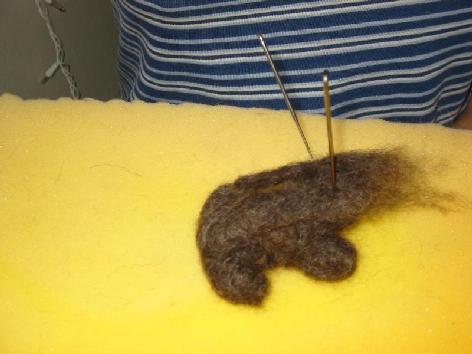
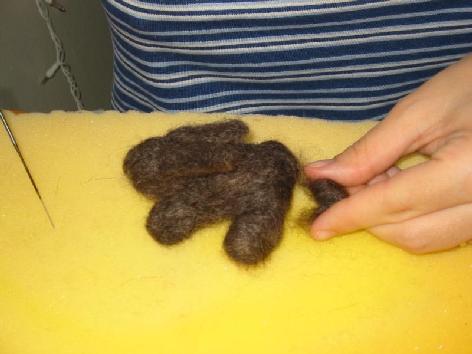
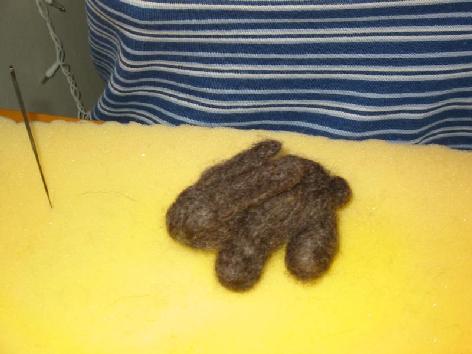
Now felt the head and body together.
Try to poke so that the needle goes in from the head part and into
the body. Do this all around the head. The needle should go in at an
angle. Try all kinds of angles to see what is easier to do for you.
Go round the head a few times to make sure it is well attached.
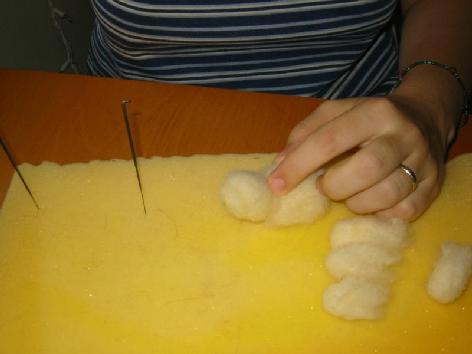

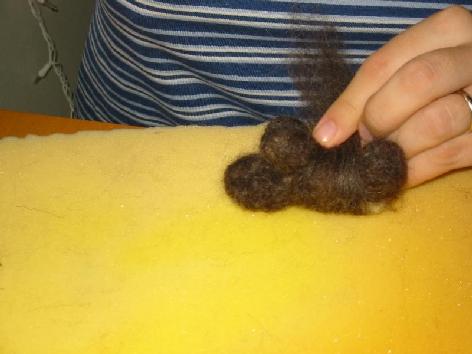
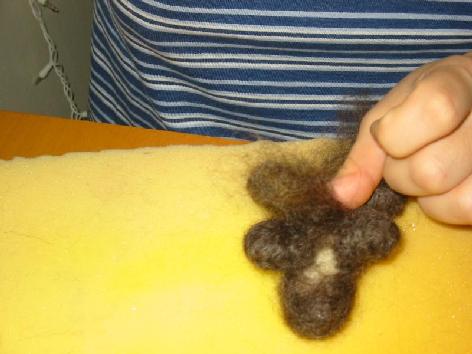
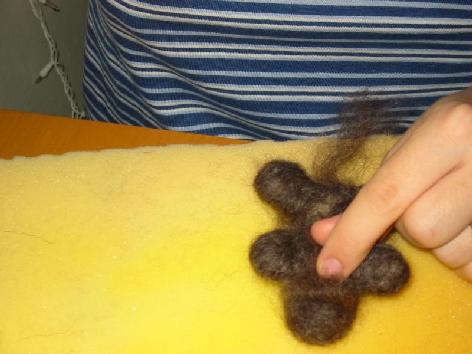
Attach legs in the same way.
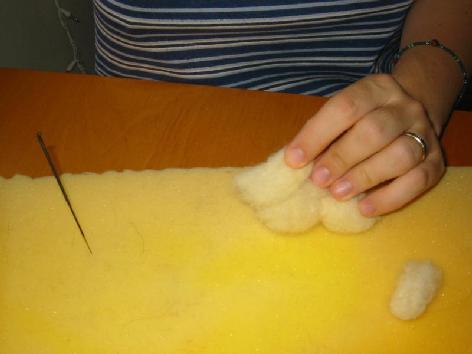
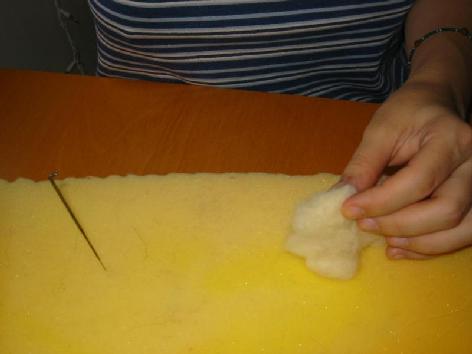
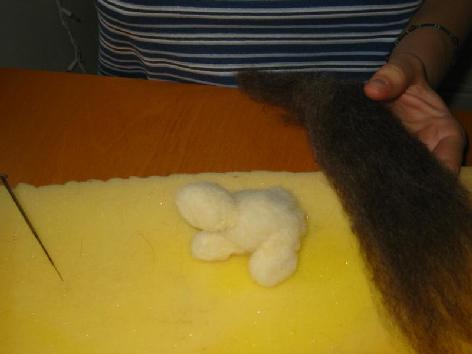
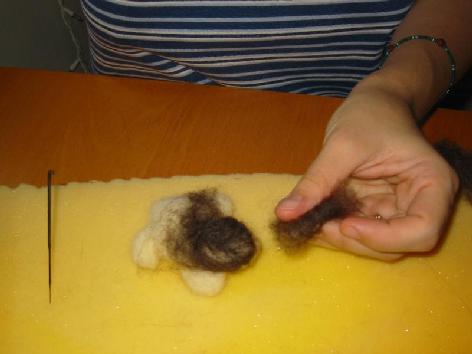
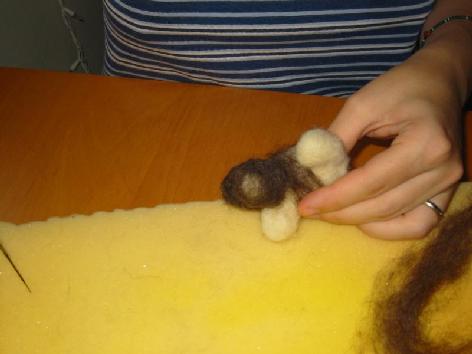
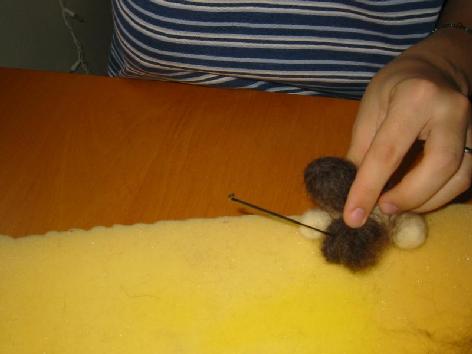
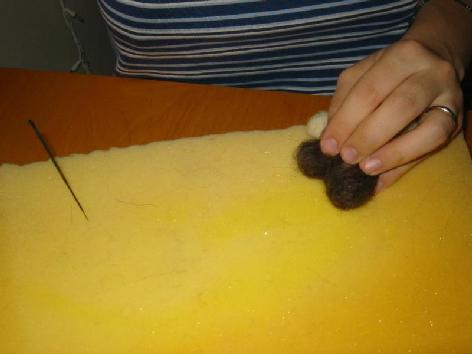
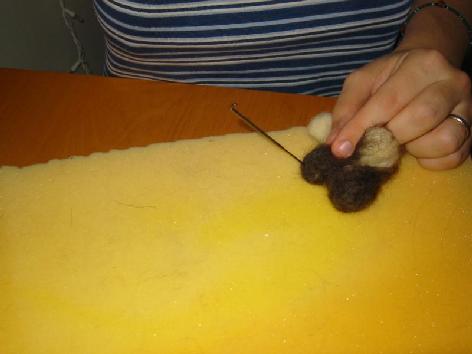
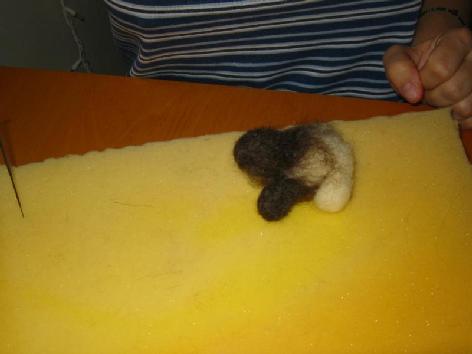
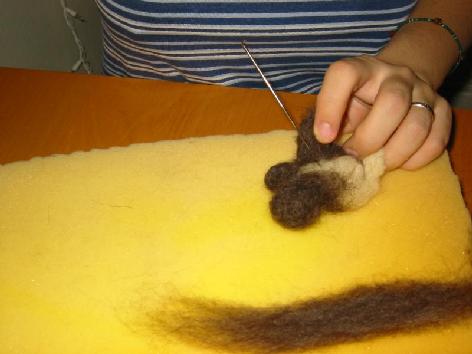
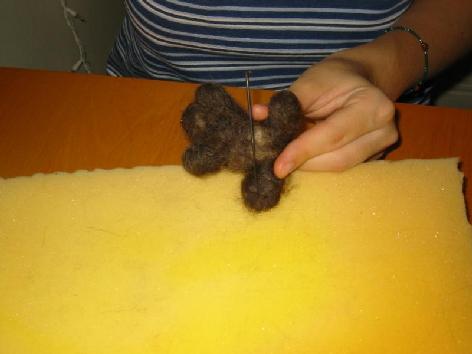
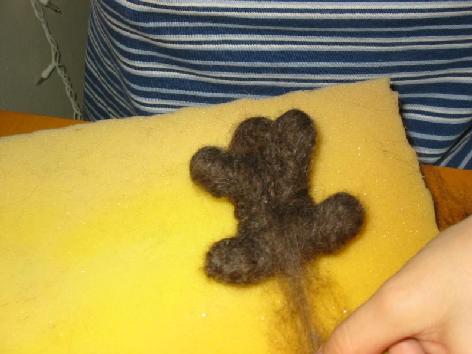
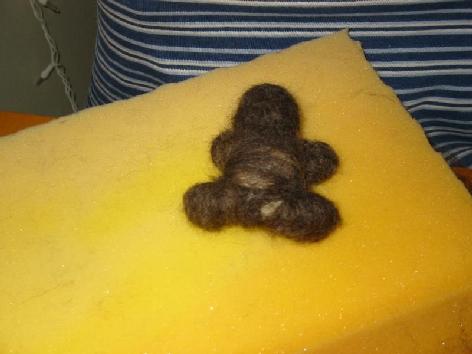
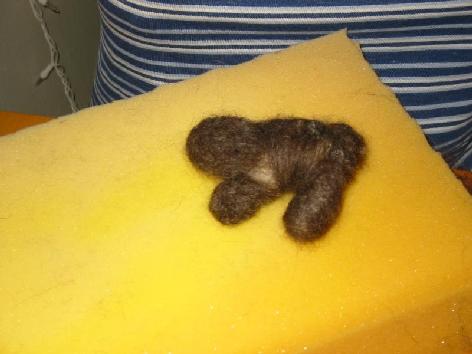
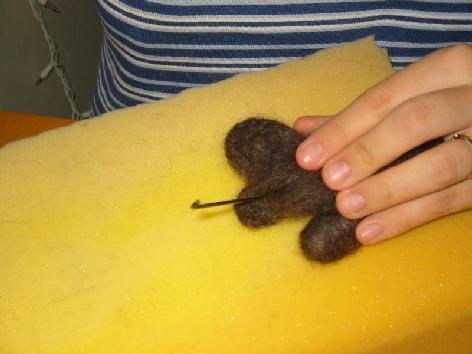
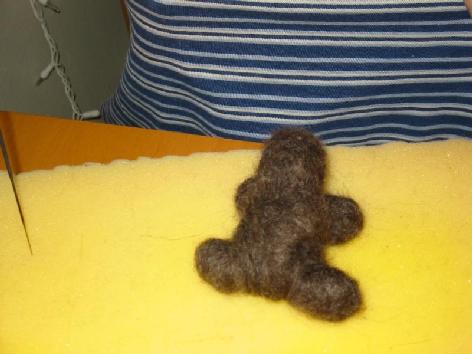
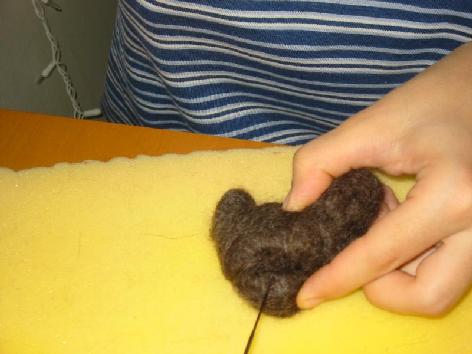
The bunny
is starting to take shape but doesn't look quite like a bunny yet –
it still needs skin. If you have used the bunny color from the
beginning then skip the wrapping part and just felt the bunny body
and legs until the fleece is nice firm and not too fuzzy

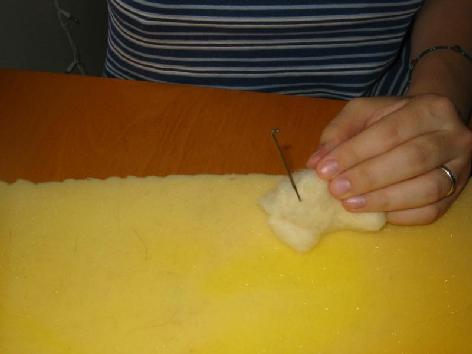
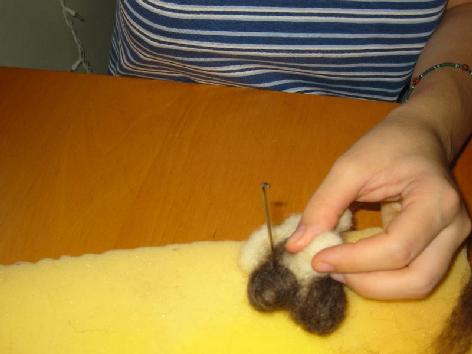
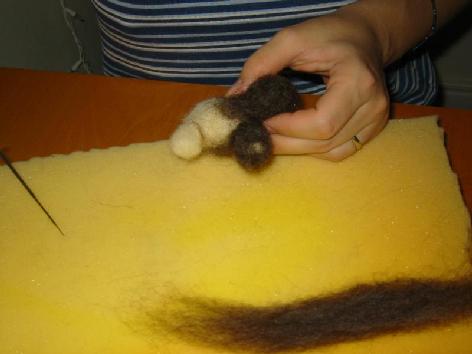
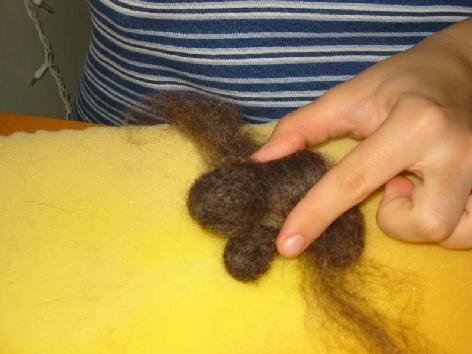
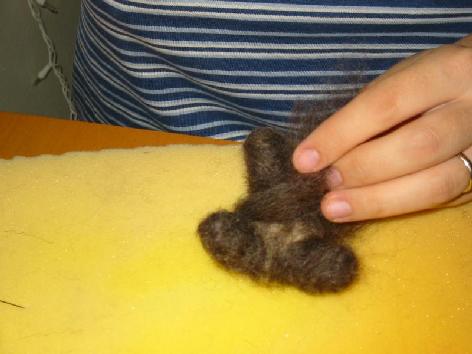
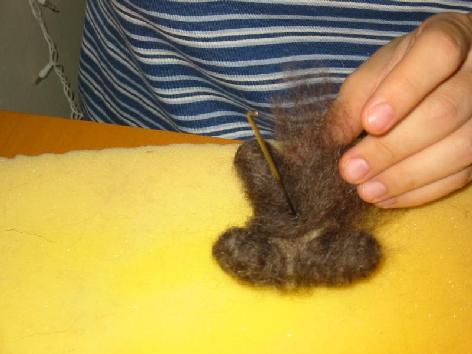
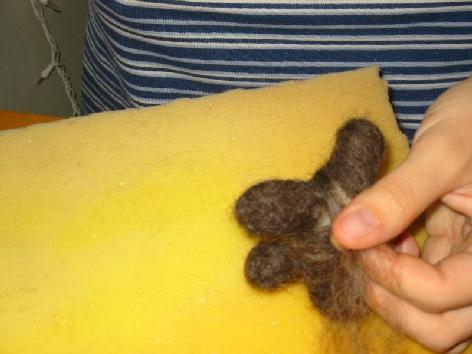
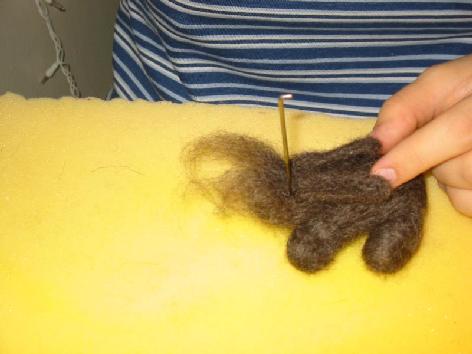
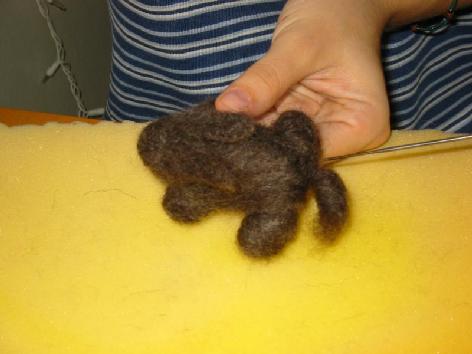
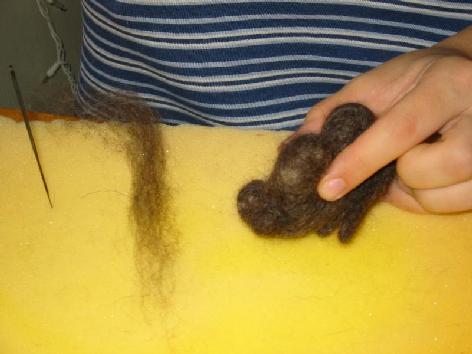
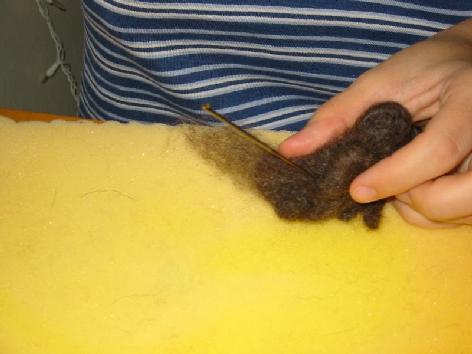
Take some bunny colored fleece (or
roving) and wrap it around the head. Needle over it. If some part of
the head doesn't get all the way covered, i.e. Some undercolor shows
through, then just take a small piece of fleece and needle it over
the bare spot. Don't worry about the neck yet.
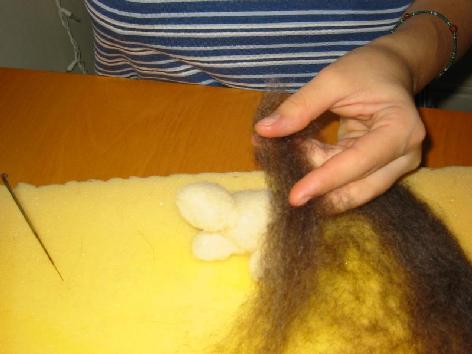
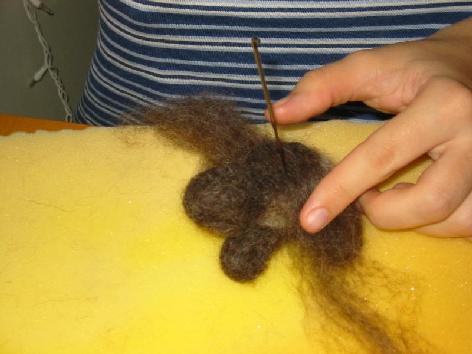
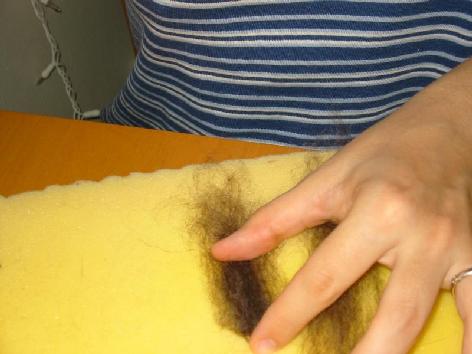
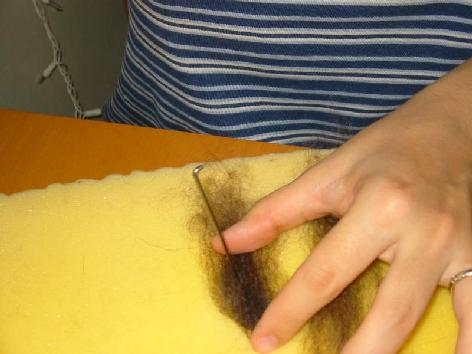
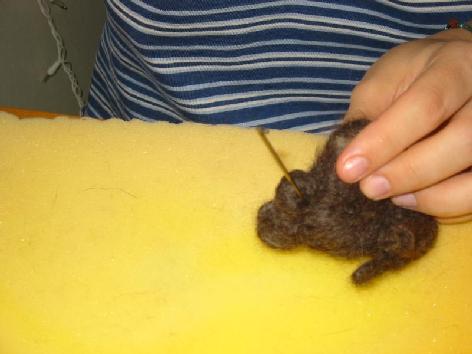
There is a bit of a "bald" spot, I add more fleece.


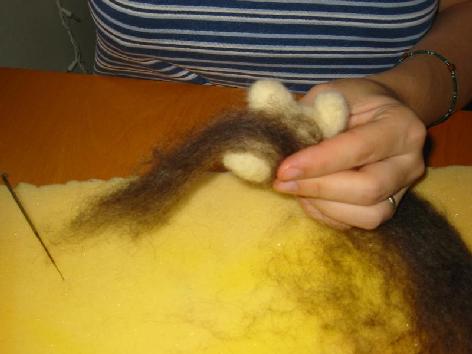
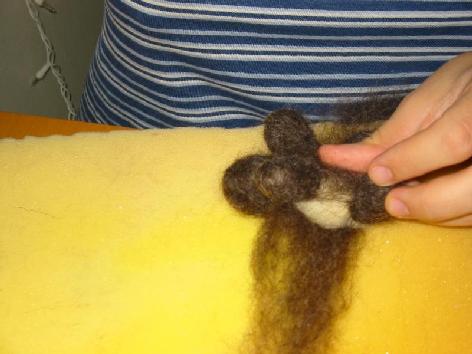
Wrap the legs in the same way.

One leg done!

Two legs done! Keep wrapping, I skipped a few pictures.
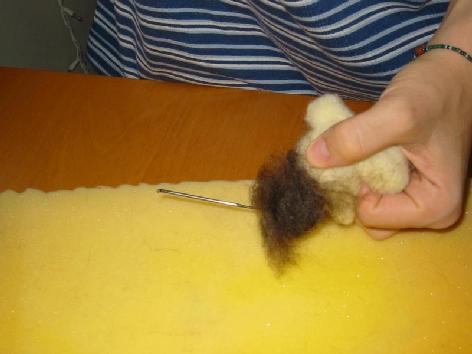
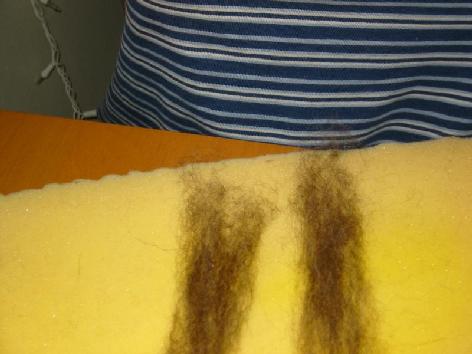
While you needle the "fur" onto the "skin" do not poke through like
this. It makes the white fibers of the body show amidst the fur. Either
poke at an angle or do not poke so deep that the needle would come
through.
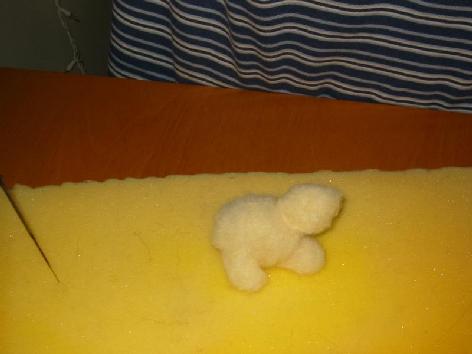
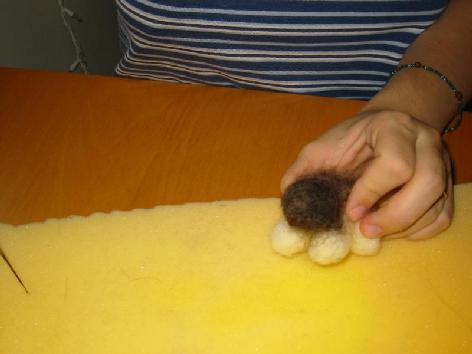
Four legs done!
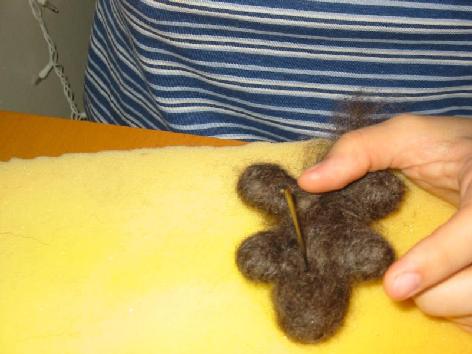
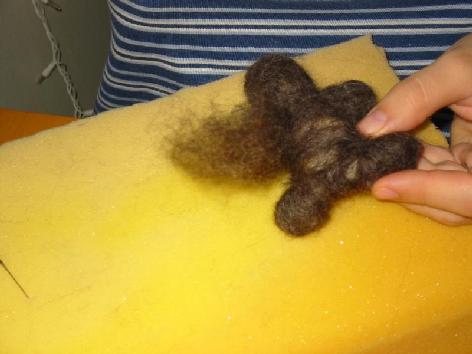
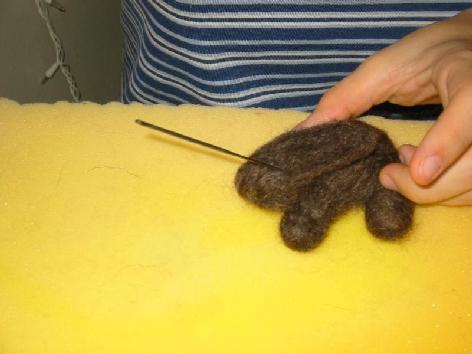
Take a longish piece of roving and put
it across the bunny's back. Needle the back. Turn bunny and needle
the side, turn again and needle a bit on the stomach, then change the
direction of the roving and cover the neck. If your roving piece is
too short to reach the neck just take a new piece. Use the other end
of the roving to cover the bottom of the bunny.
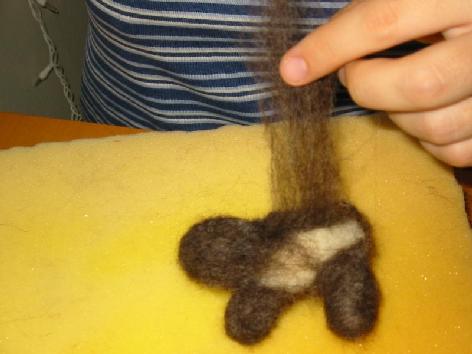
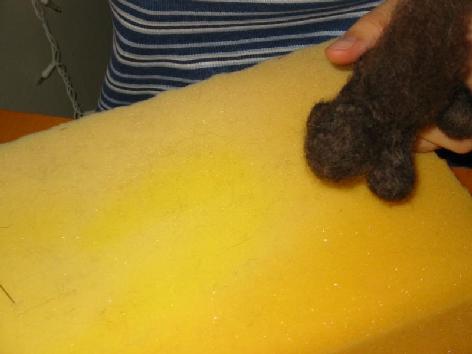
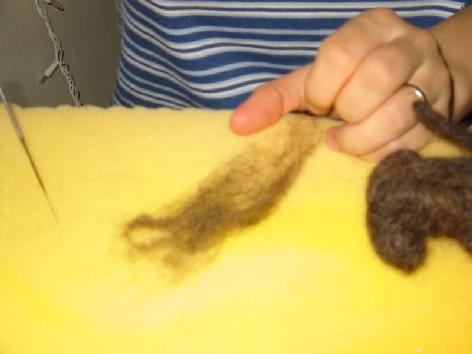
Check your bunny: are there any spots
where the “skin” shows through? Take small pieces of roving and
cover them. It is easier to take only small bits of roving even if
you have a large “bald” spot, it is much harder to needle a thick
wad of roving down so that it would blend in.
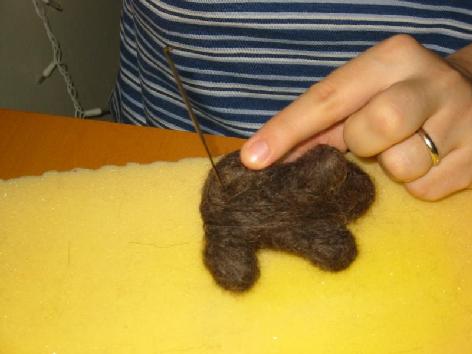
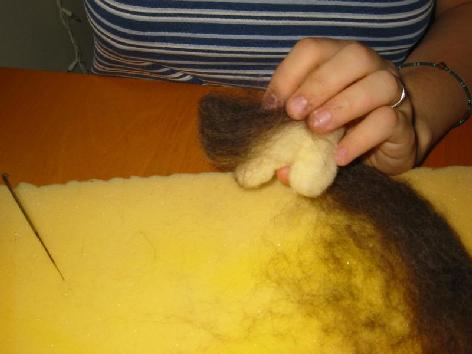
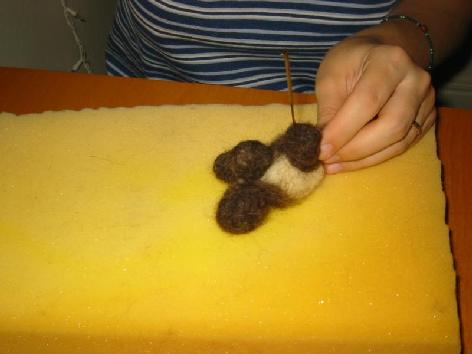
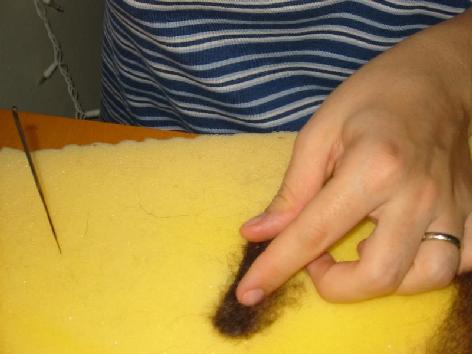
Now make the ears. Take two longish
thin pieces of roving.
Fold them in half. Needle over them. They will
become somewhat embedded in the foam.
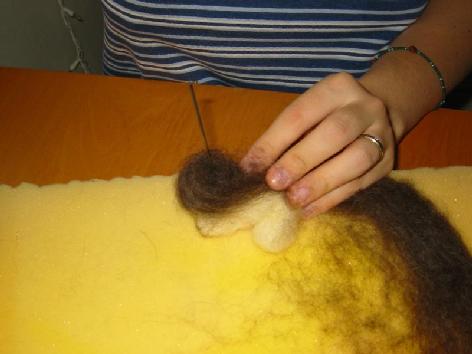
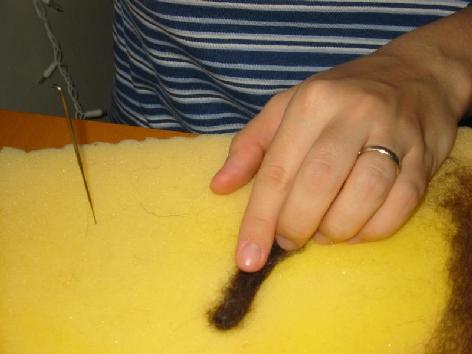
Turn them around and fold the
sides to the center. Needle to attach.
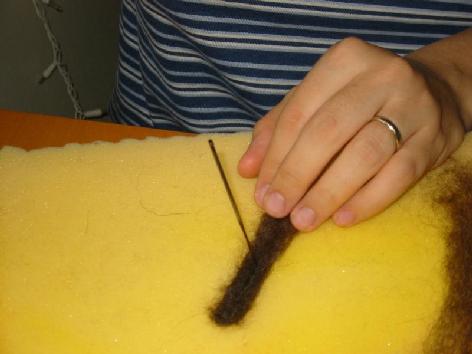
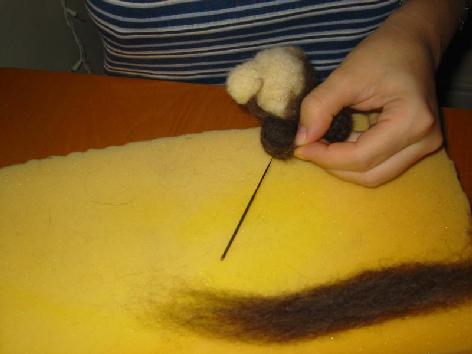
Now comes the tricky part.
Hold the ear in your hand and needle itso that the needle is almost
parallel to the ear. This reduces the fuzz.
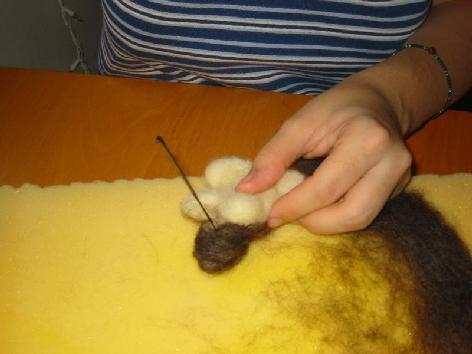
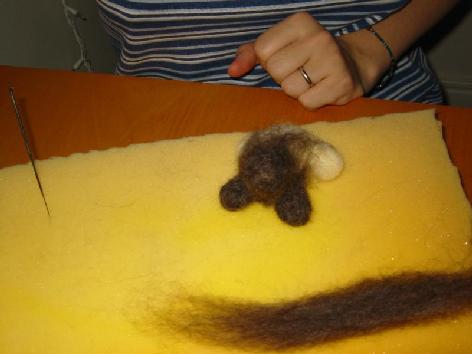
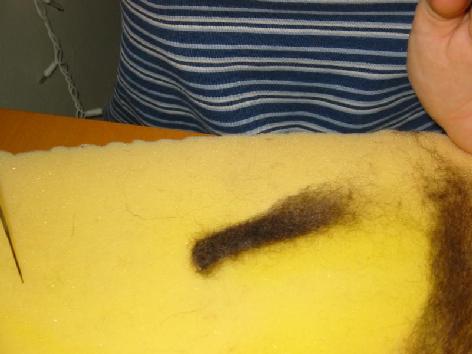
My ears look a bit different size on the picture, irl they are more
uniform.
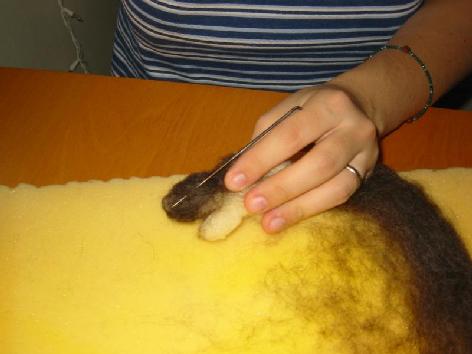
Attach ears to the head.
Fold extra fleece from the ears under the chin.

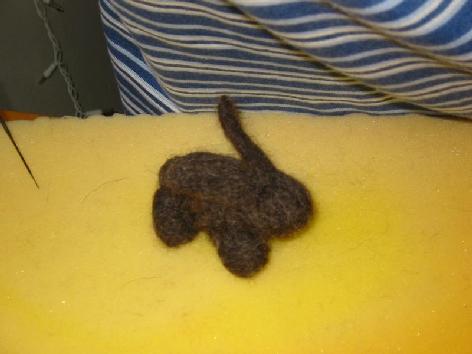
Take a little piece of roving and roll
it up for tail.
Attach one end to the bottom of the bunny.
Then
attach the other. Needle around the tail.

Needle around and over your bunny until
it is as firm as you like. Some people make quite soft needle
feltings, some make really hard. If you keep felting it can become
really firm. If you have any bald spots still, cover them now.
The bunny is felted.
I prefer to sew on the eyes with
embroidery floss. It is possible to take tiny bits of eye colored
roving and needle the eyes but in my experience, especially with
smaller animals, the result is not as nice as I would like.
Due to a child that is awake this bunny does not have eyes yet.