butterfly
gather the materials: felt,
some wire (I use something that is called telephone wire (can be bought
at Radioshack), it is really
fat wire but when you take top isolation coating off then inside are 4
skinny and
very pliable wires that retain shape extremely well; also it
doesn´t
break easily, you can bend it back and forth hundreds of times; I think
floral wire would work fine as well, I only have 24 gauge and that
seemed a bit too stiff to me),
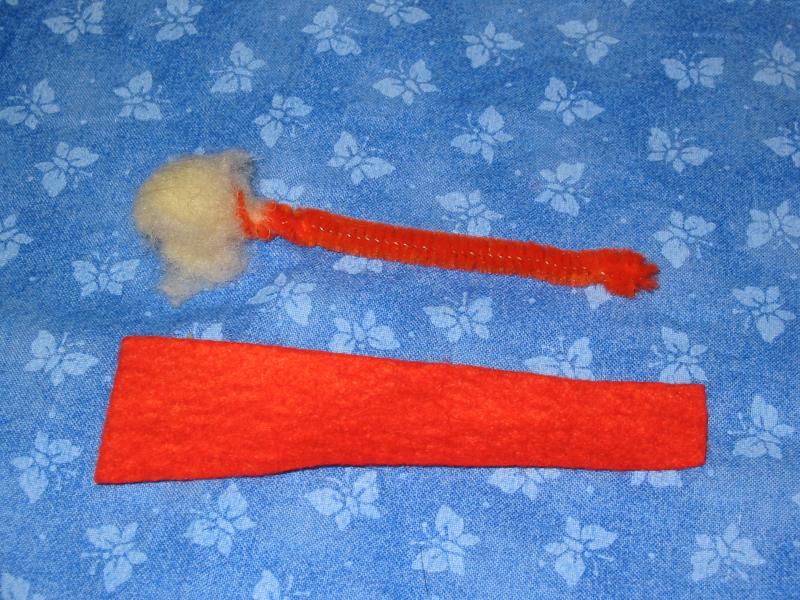
embroidery floss, 1 pipecleaner, very little bit of wool
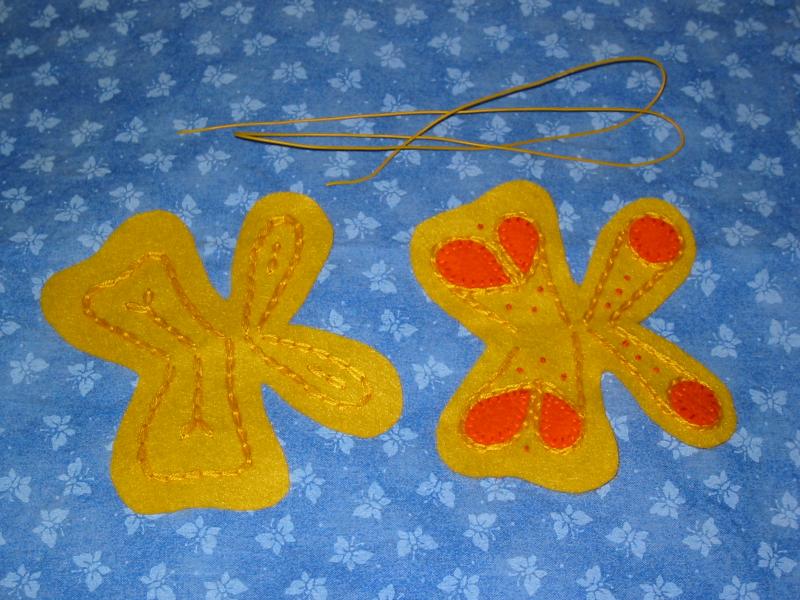
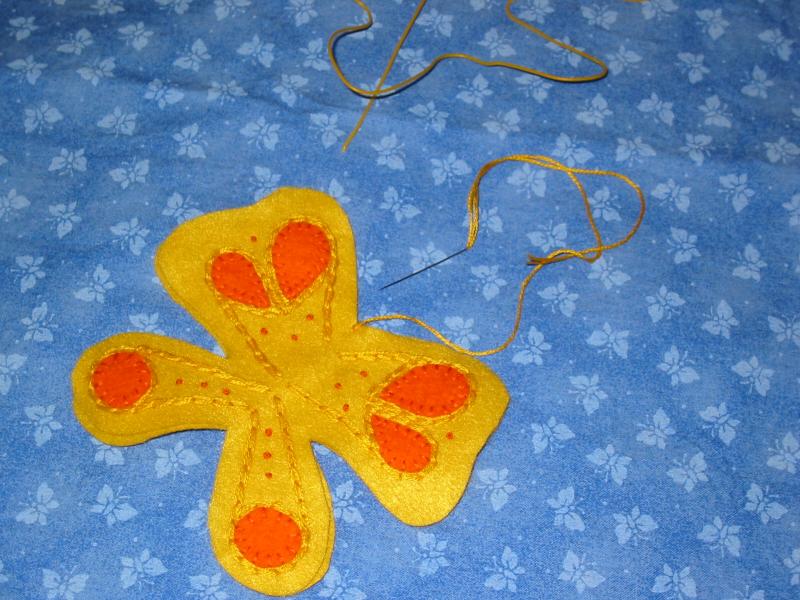
cut out:
butterfly wings, 2
decorations for wings
2 body parts
separate embroidery floss, I like to use 3 strands

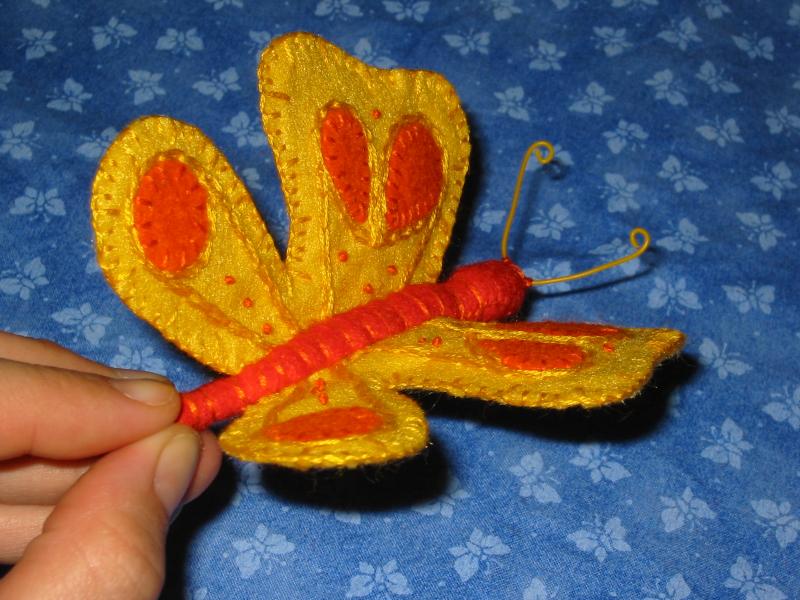
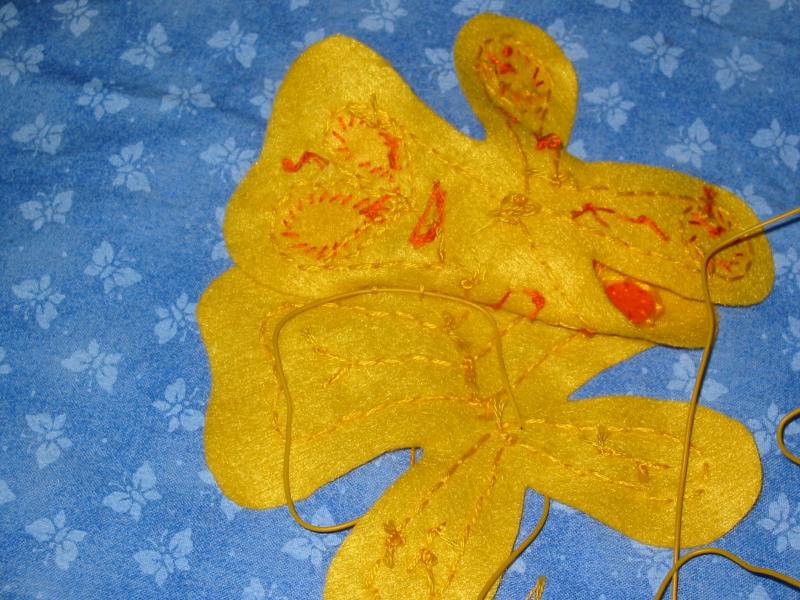
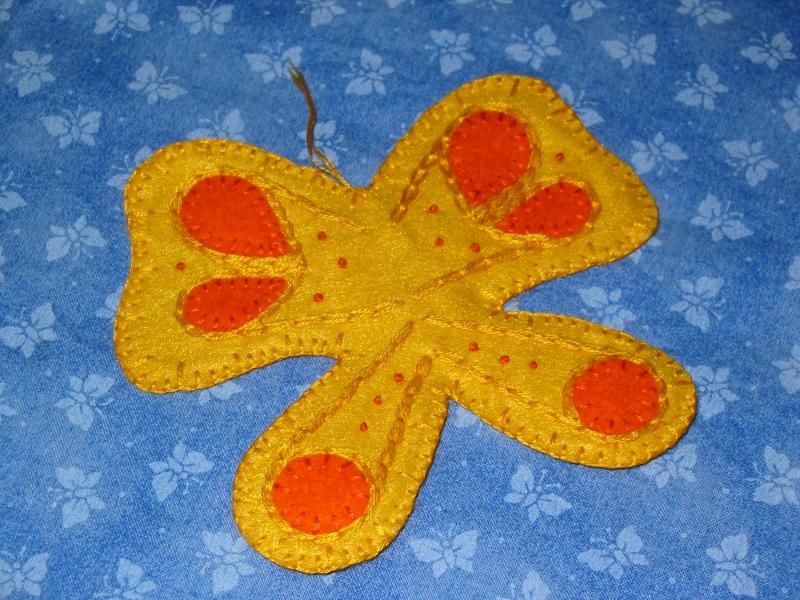
embroider the wings. I like to
do some kind of the design on the bottom side of the wings as well,
since I want to hang my butterfly eventually
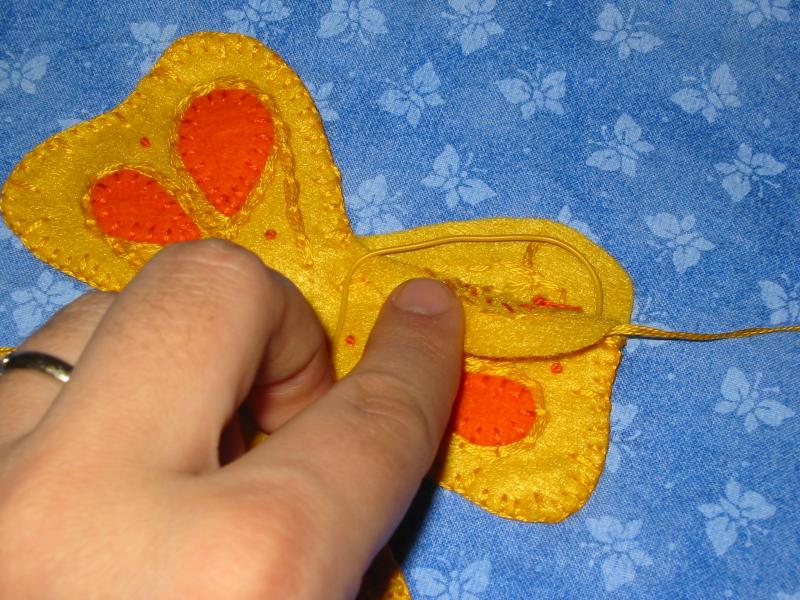
now bend your wire to the shape of the wings. It does not have to be
very exact, since you keep shaping it as you stitch it to the wings. It
is better to have about 2-3 inches of extra wire, about an inch on each
end
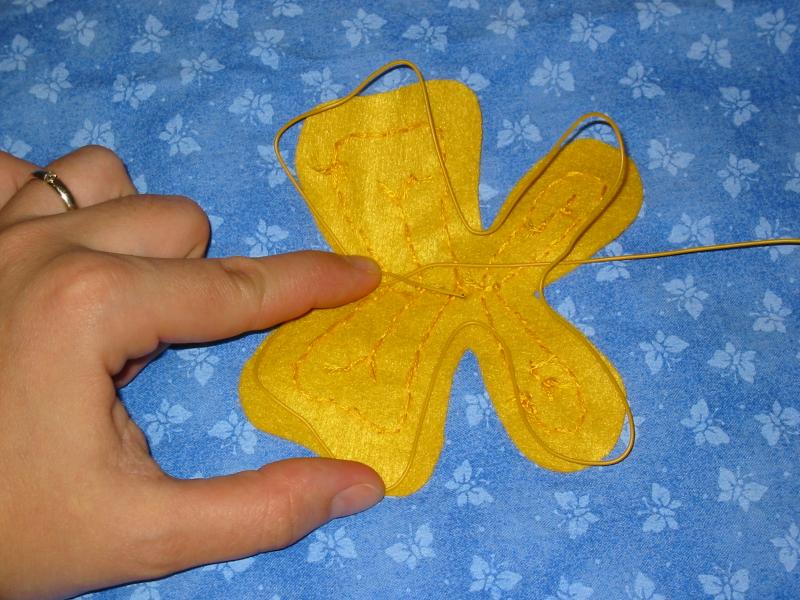
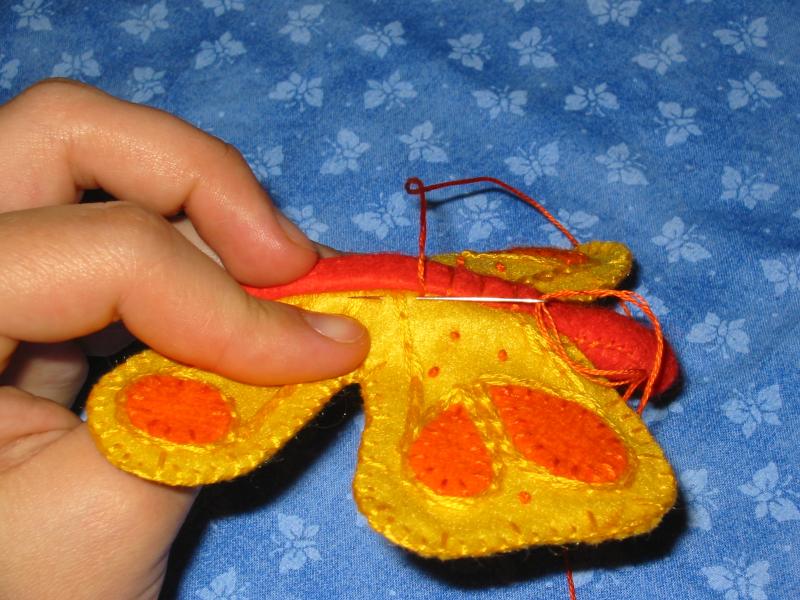
now put your two layers of wings together and fix with one small stitch
on the next stitch grab some wire into the stitch
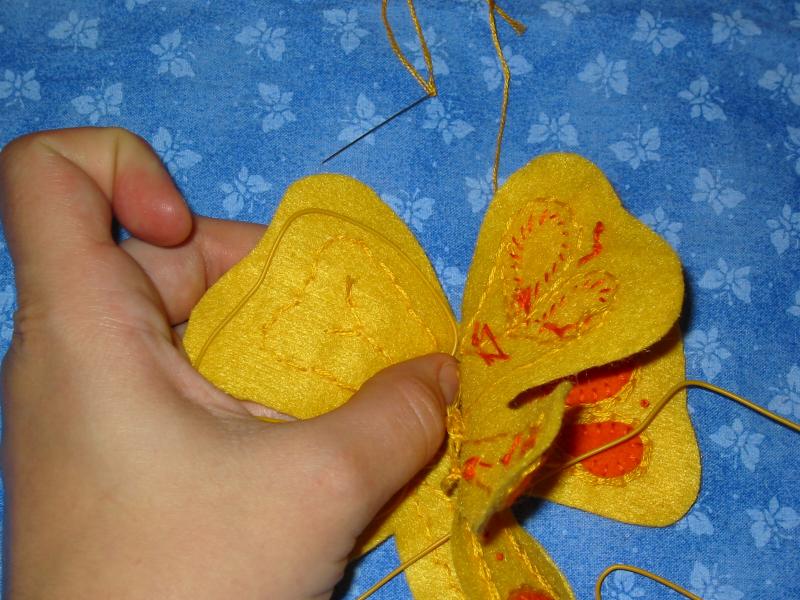
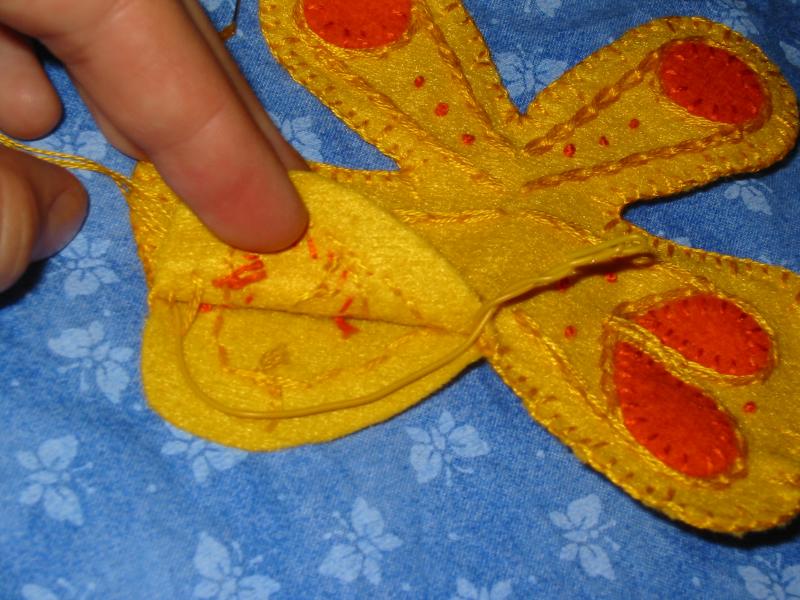
now make 3 stitches without grabbing the wire in and on the 4th stitch
grab wire again. It is helpful to make the 3 stitches a bit shorter
than the 4th one
continue in this pattern until you have only half of a wing left to do
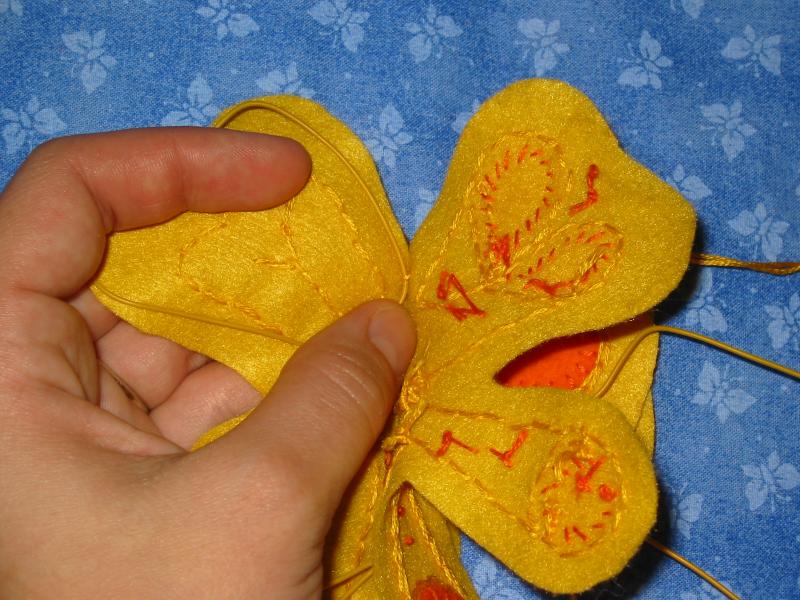
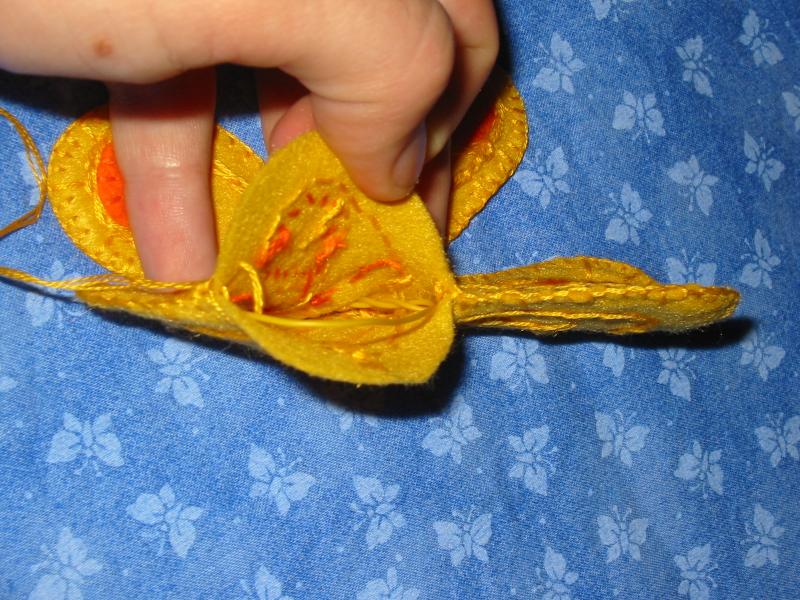
measure out how much more wire do you need to complete the butterfly.
This time it is important to be exact. Pull out the extra end of wire
from the body and twist extra lengths from both ends together. Turn
sharp ends under
tuck the twisted wire into the wings so that it lies in the center
now finish sewing around the rest of the wings
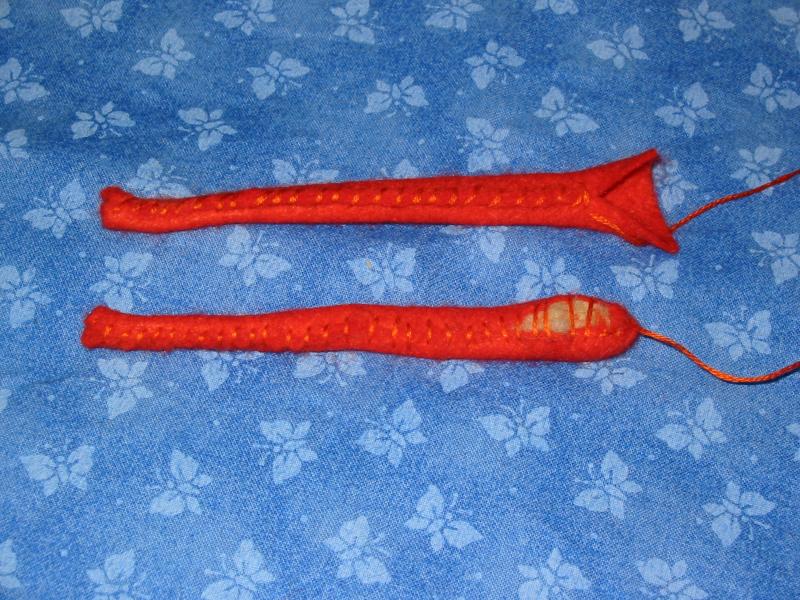
take your body pieces. Sew the sides of one together in whip stitch,
don´t pull the threads too tight. The stitching does not have to
look neat since it won´t show in the end. It is helpful to use
thread of the body color though, just in case some longer stitch is
annoying and wants to show later
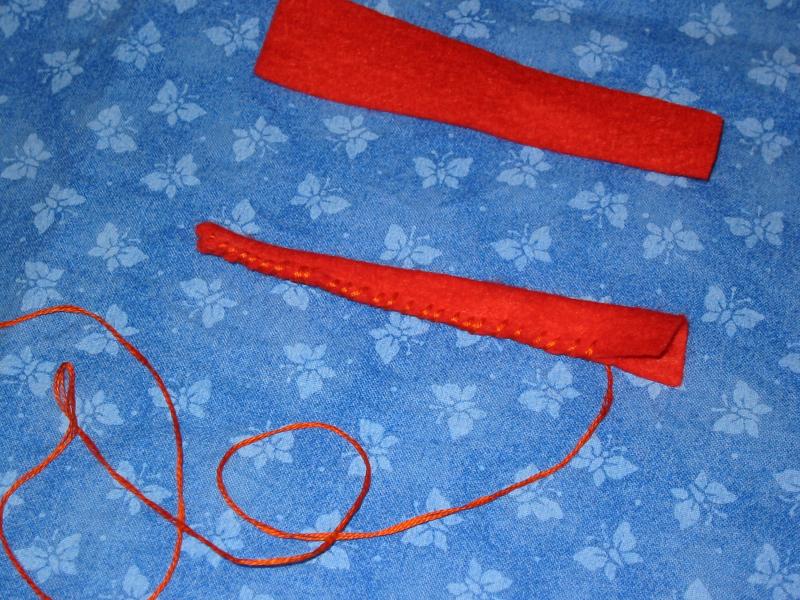
now flatten out the piece so that stitching is in the center
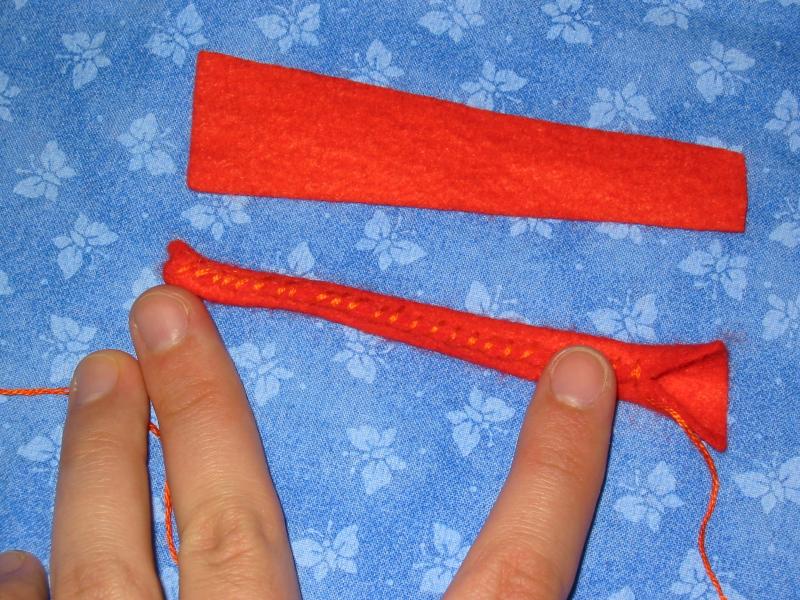
take a pipe cleaner, cut it to about 1 1/2 inches longer than body and
bend one end under and curve the other end
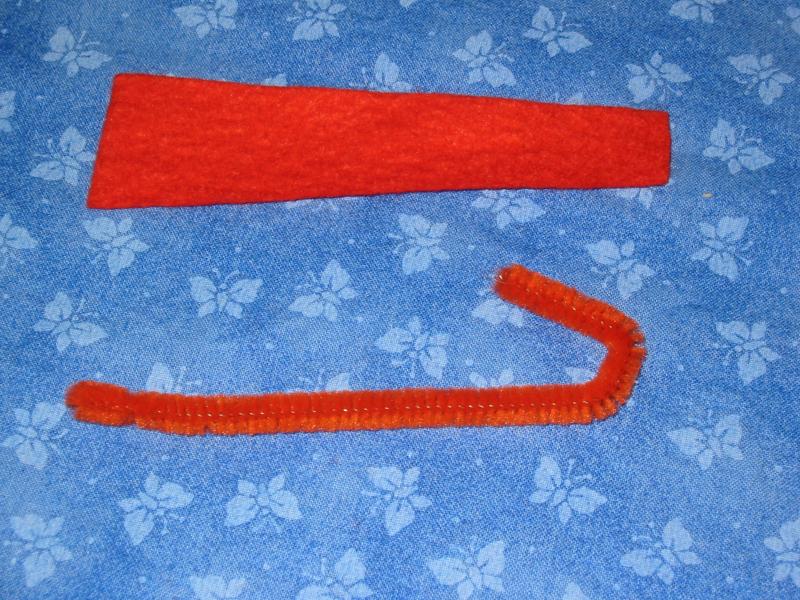
wrap a tiny bit of wool around the curved end to form head
sew pipe cleaner into the second body part. At the head end some wool
might show, this does not matter since this is only half of the body
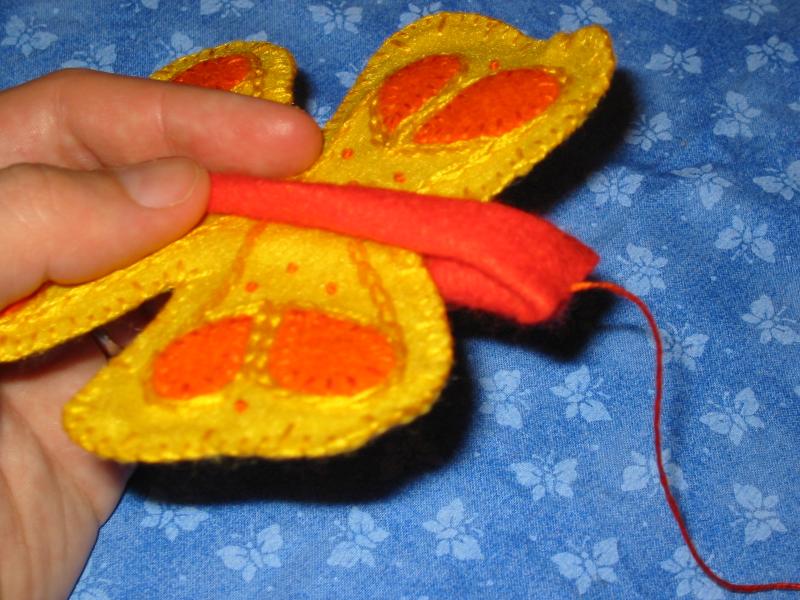
now match your body halves together, the one with pipe cleaner core
goes to the bottom side of the wings. Figure out where wings meet tail
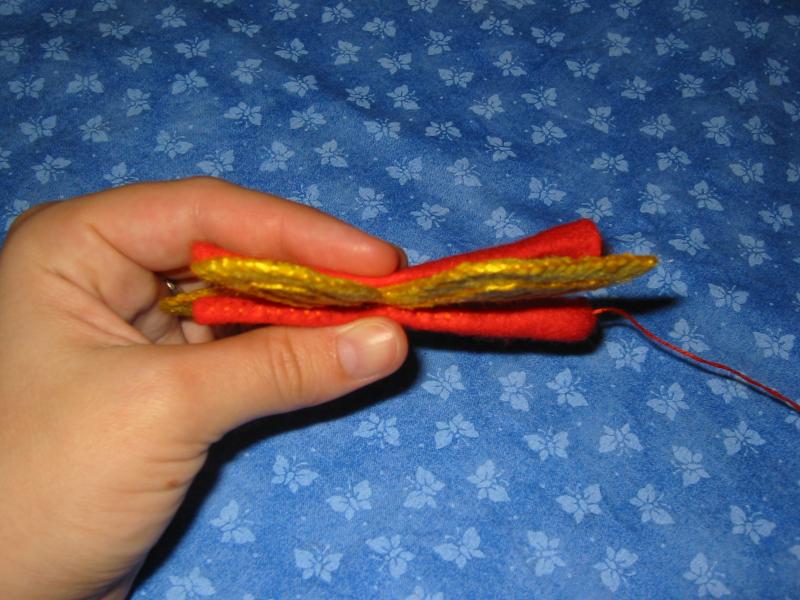
sew the tail end parts of the body together. Put around the wings
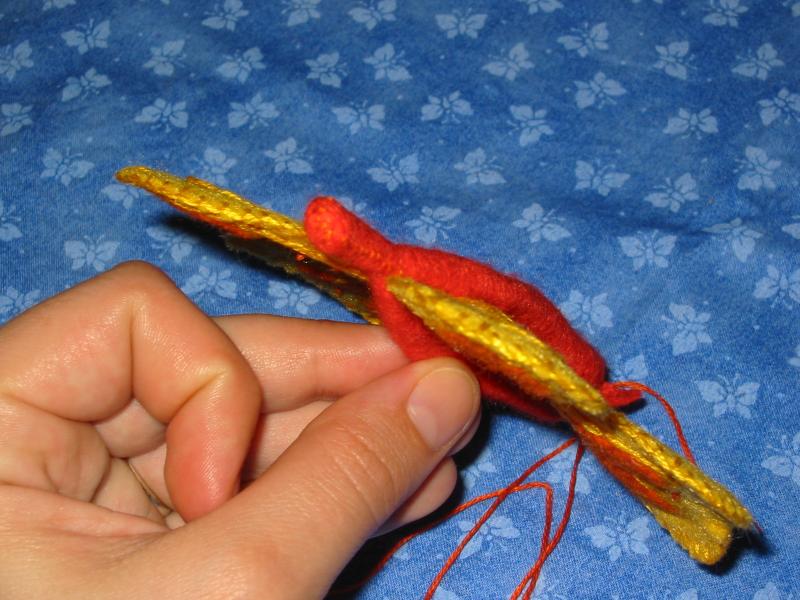
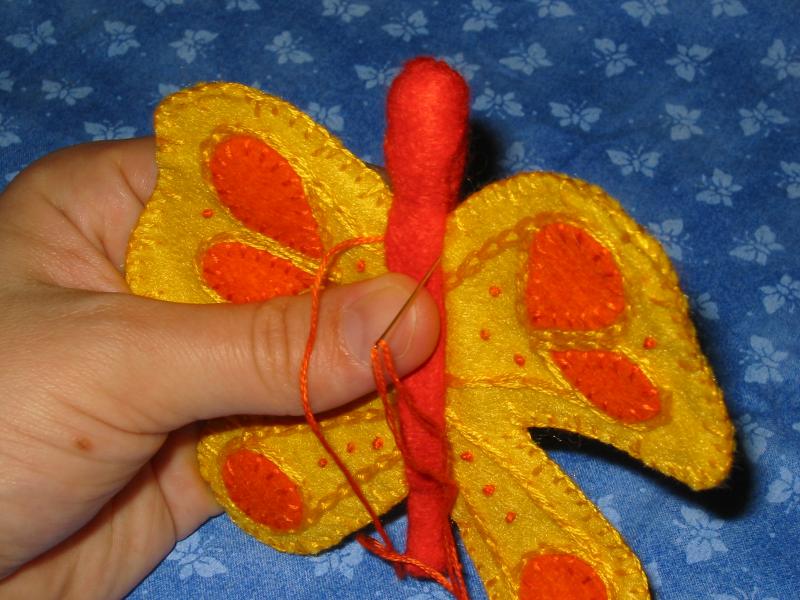
now sew the head part of the body together

start attaching the body to the wings. To do that make a stitch around
both sides of the body
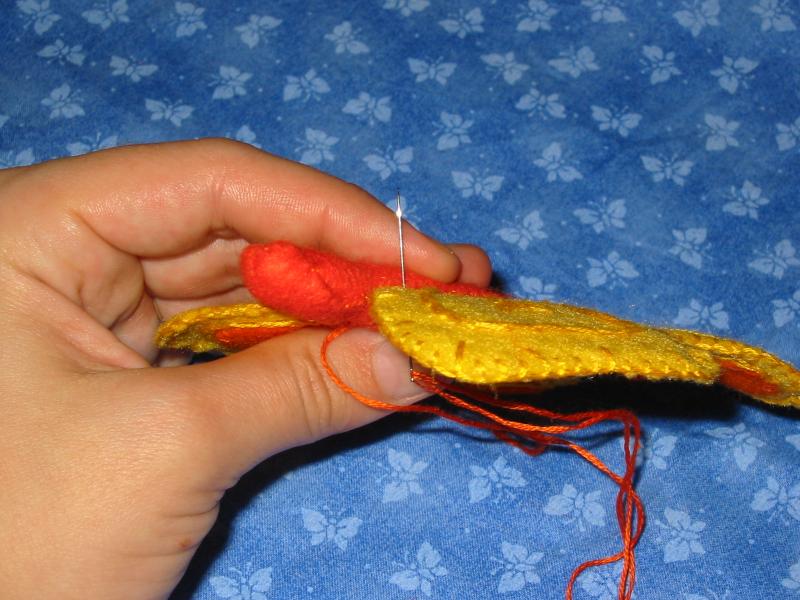
this is how you move from one stitch around the body to the next
now do this on the enitre length of the body, including the tail (the
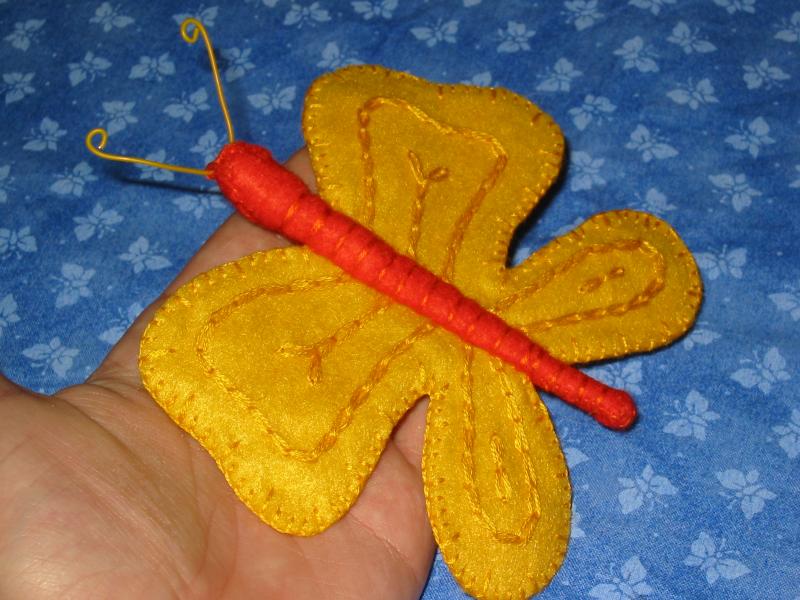
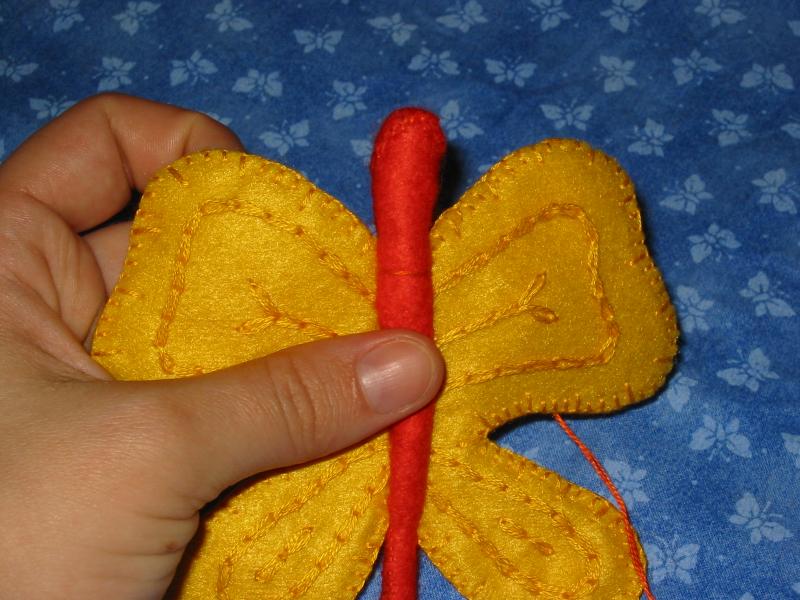
tail needs it just for uniformity) and neck. The butterfly is done!
Here I added wire antennae since I know little kids won´t get to
play with my butterfly. You could also make antennae from small strips
of felt or just skip them
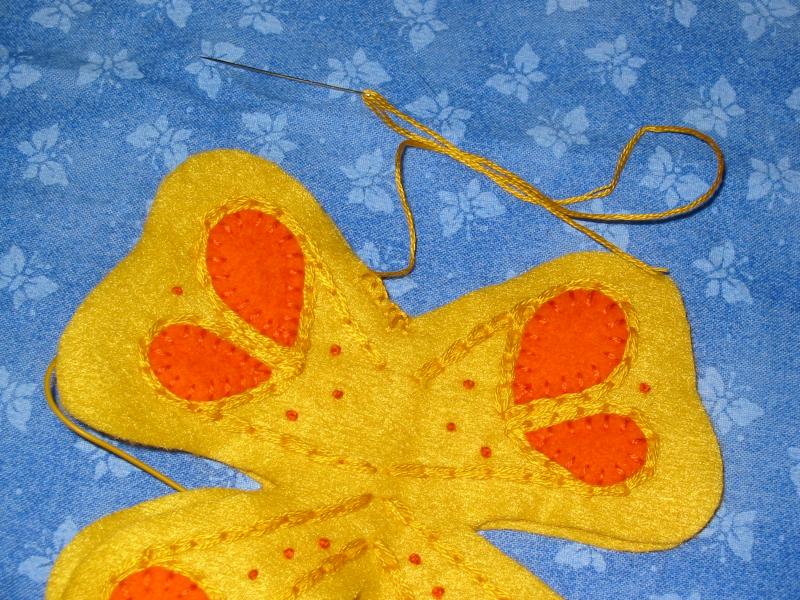
the top side

bottom side